After we installed Docker and Docker Compose, we were able to deploy the application using the command docker run or docker-compose up. However, managing Docker with the command line is a torture for newcomers. To solve this problem, we can use Docker GUI tools to manage Docker more efficiently.
In this article, I will show you how to install and use Portainer – one of the most popular Docker GUI tools – to manage Docker containers.
Portainer is a Docker Container management tool with an intuitive, easy-to-use interface. You can manage Docker stack, containers, images, volumes, networks, etc. directly through Portainer’s web interface.
For me, the main advantage of Portainer is that I can install Docker applications quickly. When you no longer need to use it, you can suspend and delete it immediately. No need to remember any Docker commands. There’s also no need to understand how Docker works. Just press a few buttons and you’re done.
Table of contents
System Requirements
Portainer itself is a Docker container, so your machine needs to have Docker and Docker Compose installed first. You can check if your machine has Docker and Docker Compose installed with the command
Check if Docker Compose is installed
docker --version # Kiểm tra Docker đã được cài chưa
docker-compose --version # Kiểm tra Docker Compose đã được cài chưa
If the command not found error, it means the machine is not available.
Refer to the article below to know how to install Docker and Docker Compose
Also, you need to have root or sudo access on your machine to be able to install Portainer
Install Portainer
Use the following command to deploy Portainer on Linux (Ubuntu 20.04, CentOS 7, Debian,…)
docker volume create portainer_data
docker run -d -p 8000:8000 -p 9000:9000 --name=portainer --restart=always -v /var/run/docker.sock:/var/run/docker.sock -v portainer_data:/data portainer/portainer-ce
Wait a few minutes for Docker to pull the Potainer image to your computer and install it
Unable to find image 'portainer/portainer-ce:latest' locally
latest: Pulling from portainer/portainer-ce
651a8e6e1630: Pull complete
56e38df73332: Pull complete
39a20fc5eb57: Pull complete
Digest: sha256:e50acb22caeaa0f7256eabdd05eeb707e67326bc89abac59eeed0b4c02cc93a3
Status: Downloaded newer image for portainer/portainer-ce:latest
14c3103b9b9e3b7f525d7e79f4e55008d8a230850855b6d82b1af50690a568c7
After the installation is complete, open a browser to access the following address to set up Portainer
http://<IP-Address>:9000Where
ifconfigOr you can install using Docker-Compose
# docker-compose.yml
version: '3.9'

services:
  portainer:
    image: portainer/portainer-ce:latest
    container_name: portainer
    restart: unless-stopped
    security_opt:
      - no-new-privileges:true
    volumes:
      - /etc/localtime:/etc/localtime:ro
      - /var/run/docker.sock:/var/run/docker.sock:ro
      - ./portainer-data:/data
    ports:
      - 9000:9000
Portainer Configuration
On the first visit, Portainer will ask to set up an account and password. You should change the admin username to anything else to increase security.

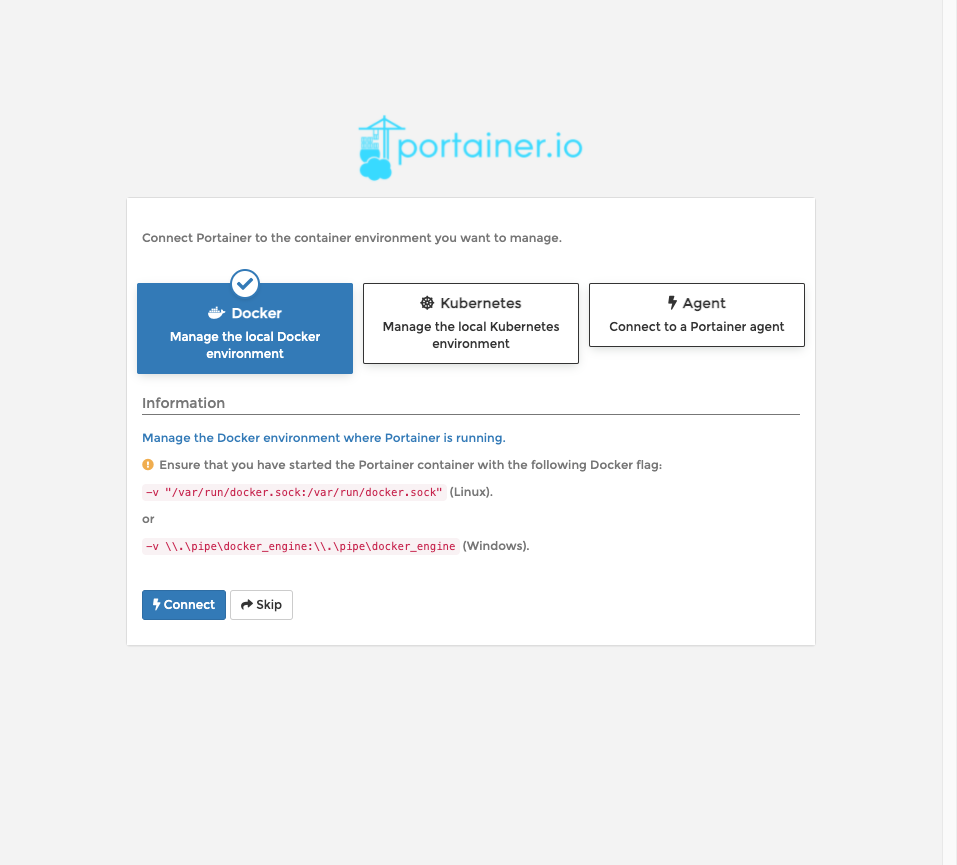
Next, choose how Portainer connects to the host. Here I use Portainer to manage Docker locally, so I choose Docker, then click Connect
After logging in, we will see the Portainer Dashboard interface as shown below.
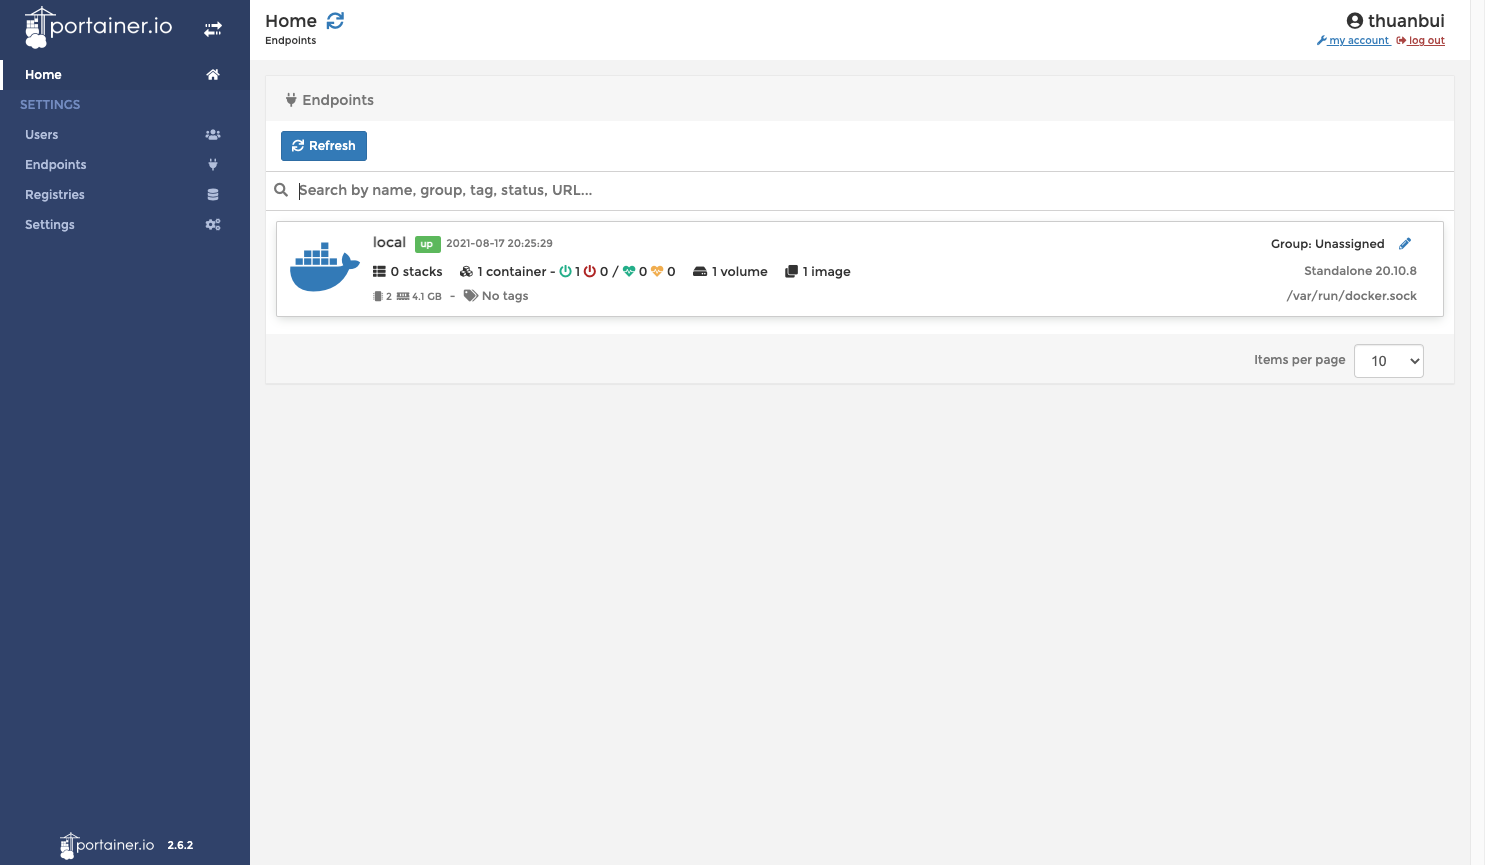
You can see that the local endpoints have been connected successfully. Attached is the information related to the active (local) host:
- Number of stacks: 0.
- Number of containers: 1
- Volume Quantity: 1
- Number of images: 1
On the left side, there are advanced settings such as Users, Endpoints, Registries, Setting to tweak Portainer. No matter what these items do.
Manage Docker of an endpoint
From the Dashboard, click on the local endpoint to access the host’s Docker management page

Portainer supports quite full features so you can manage Docker information
- Dashboard: displays general information about the status of Docker’s available resources on the host.
- App Templates: List of sample templates for quick application deployment.
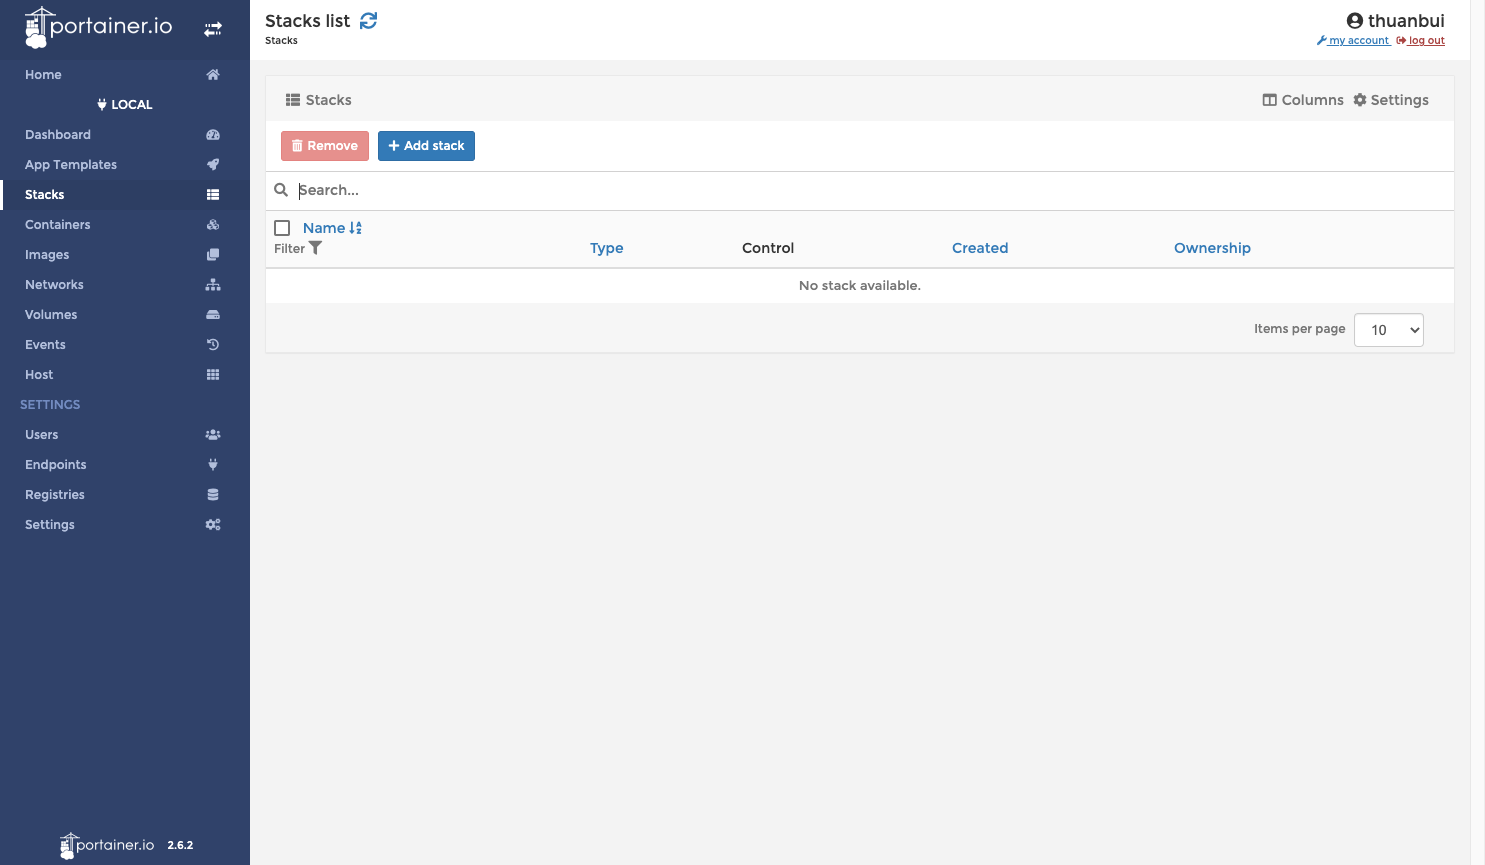
- Stacks: Allows creating/deleting Docker stacks with docker-compose file
- Containers: Display detailed information about the status of existing containers on the host. You can change the operating status or view the container’s log directly from this page.
- Images: Display information about existing images on the host. Can delete unused images (labelled Unused)
- Networks: Displays a list of available networks on the host. Can add/remove network.
- Volumes: Displays a list of available volumes on the host. Can add/remove volumes.
- Events: Displays the log of events that took place on the Docker host.

Test the application using Portainer
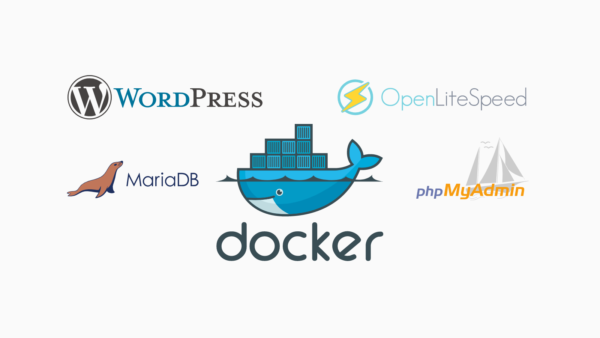
I will implement WordPress through Portainer to make it easier for you to understand how this tool works.
WordPress is already available in App Templates, but I don’t use this method, I will deploy it through Portainer’s Stacks tool.
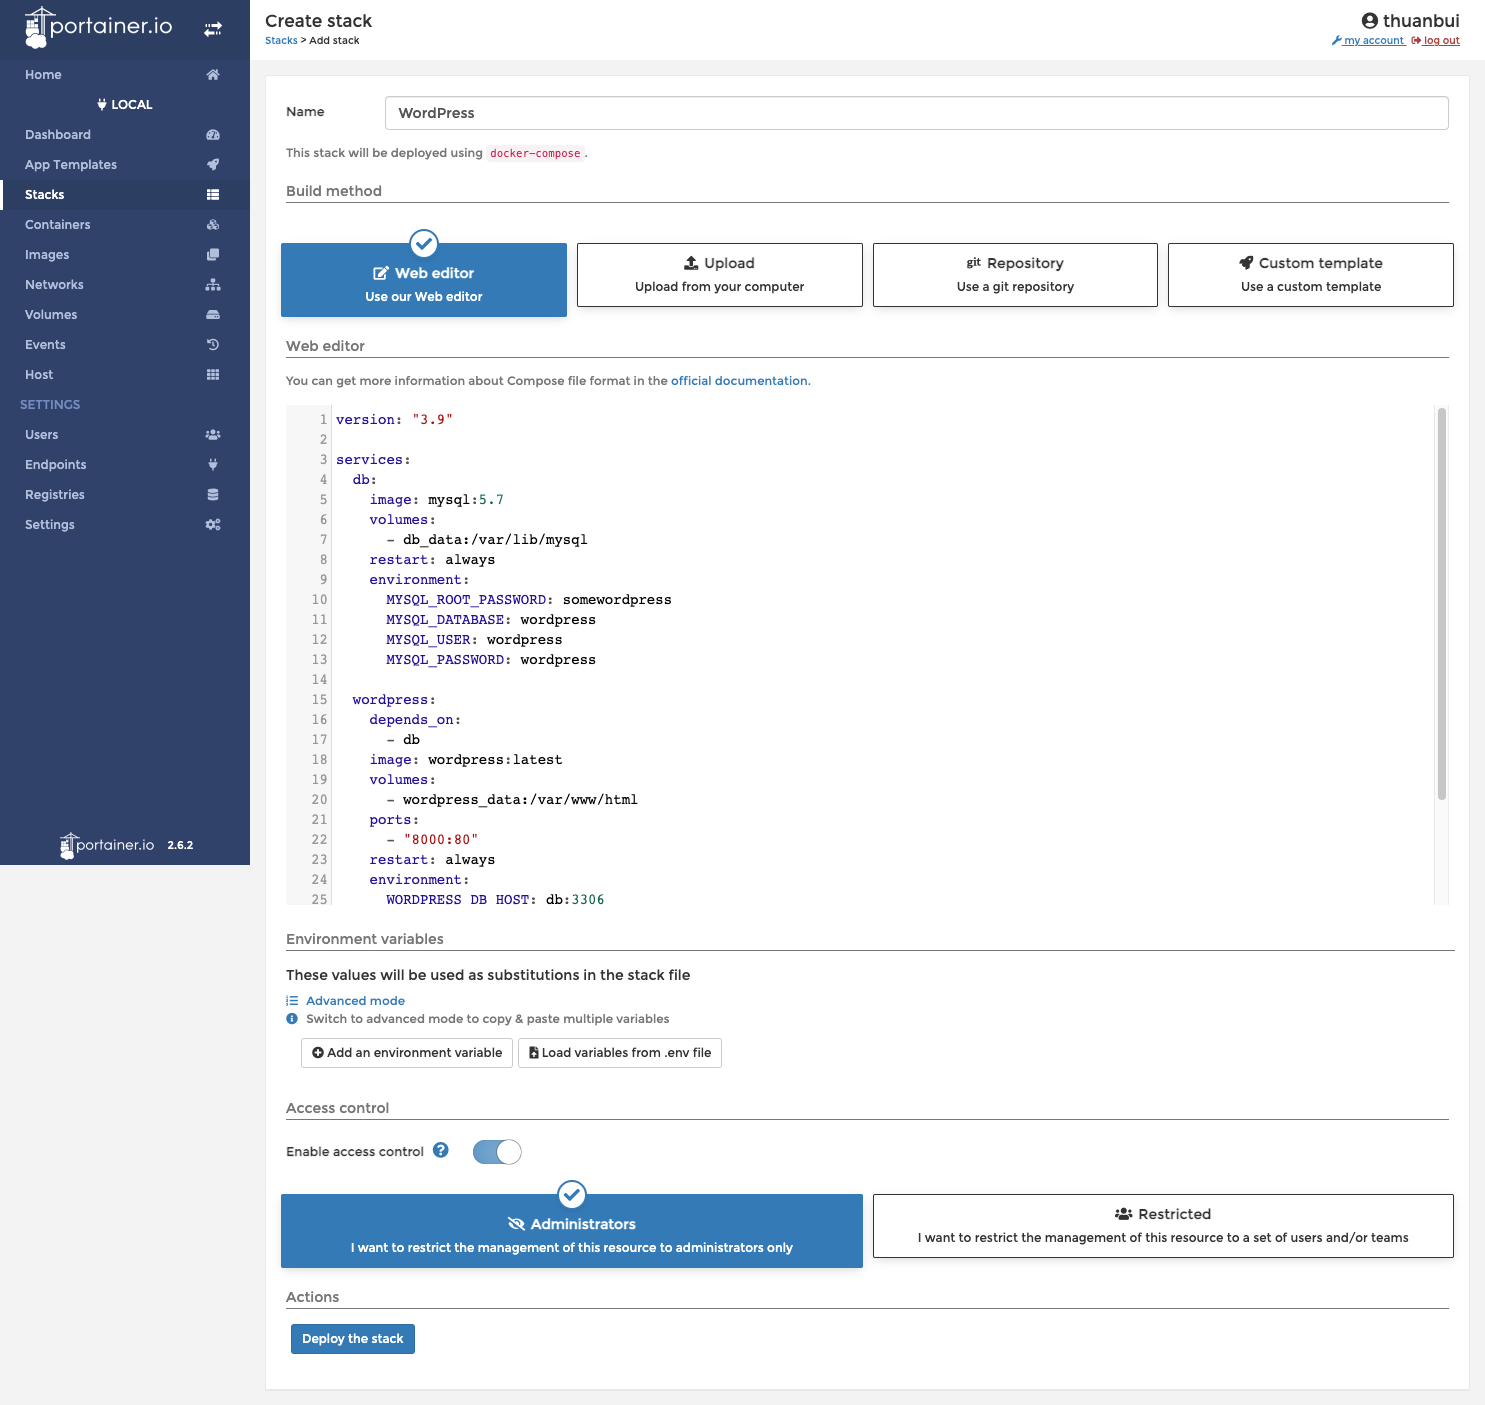
The content in the Editor is the content in the file docker-compose.yml I used when deploying the application through Docker Compose in the previous article.
services:
  db:
    image: mariadb
    volumes:
      - ./database:/var/lib/mysql
    restart: unless-stopped
    ports:
      - 3306:3306
    environment:
      MYSQL_ROOT_PASSWORD: rootpress
      MYSQL_DATABASE: wordpress
      MYSQL_USER: wordpress
      MYSQL_PASSWORD: wordpress

  wordpress:
    depends_on:
      - db
    image: wordpress:latest
    volumes:
      - ./html:/var/www/html
    ports:
      - '80:80'
    restart: always
    environment:
      WORDPRESS_DB_HOST: db:3306
      WORDPRESS_DB_USER: wordpress
      WORDPRESS_DB_PASSWORD: wordpress
      WORDPRESS_DB_NAME: wordpress
Attention:
- You can change the database, user, and password parameters, but it should be noted that both the parameters in the wordpress and mysql sections must be similar.
- Ports: -“80:80” means that the host port 80 will be redirected to port 80 of the container running wordpress. If the host port 80 is already in use or you want to access another port, for example 3333, change it back to “3333:80”
Wait a few minutes for the system to load the image and set up WordPress on the host. If the installation is successful, the Stack section will display the line WordPress
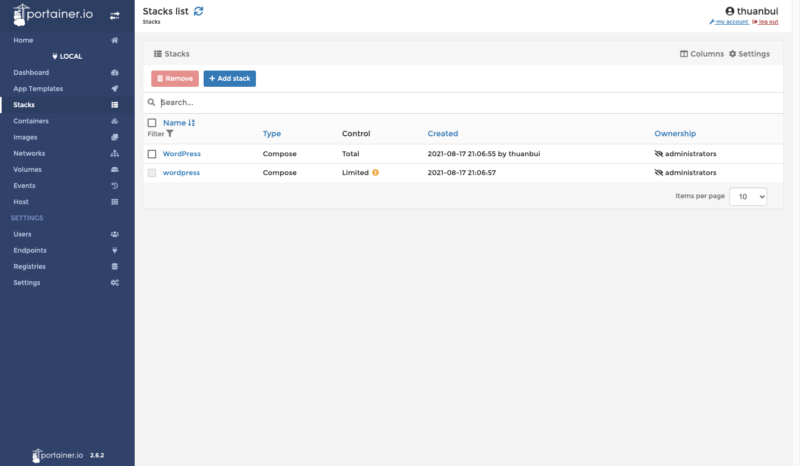
WordPress is ready to go by address.
http://<IP-Address>
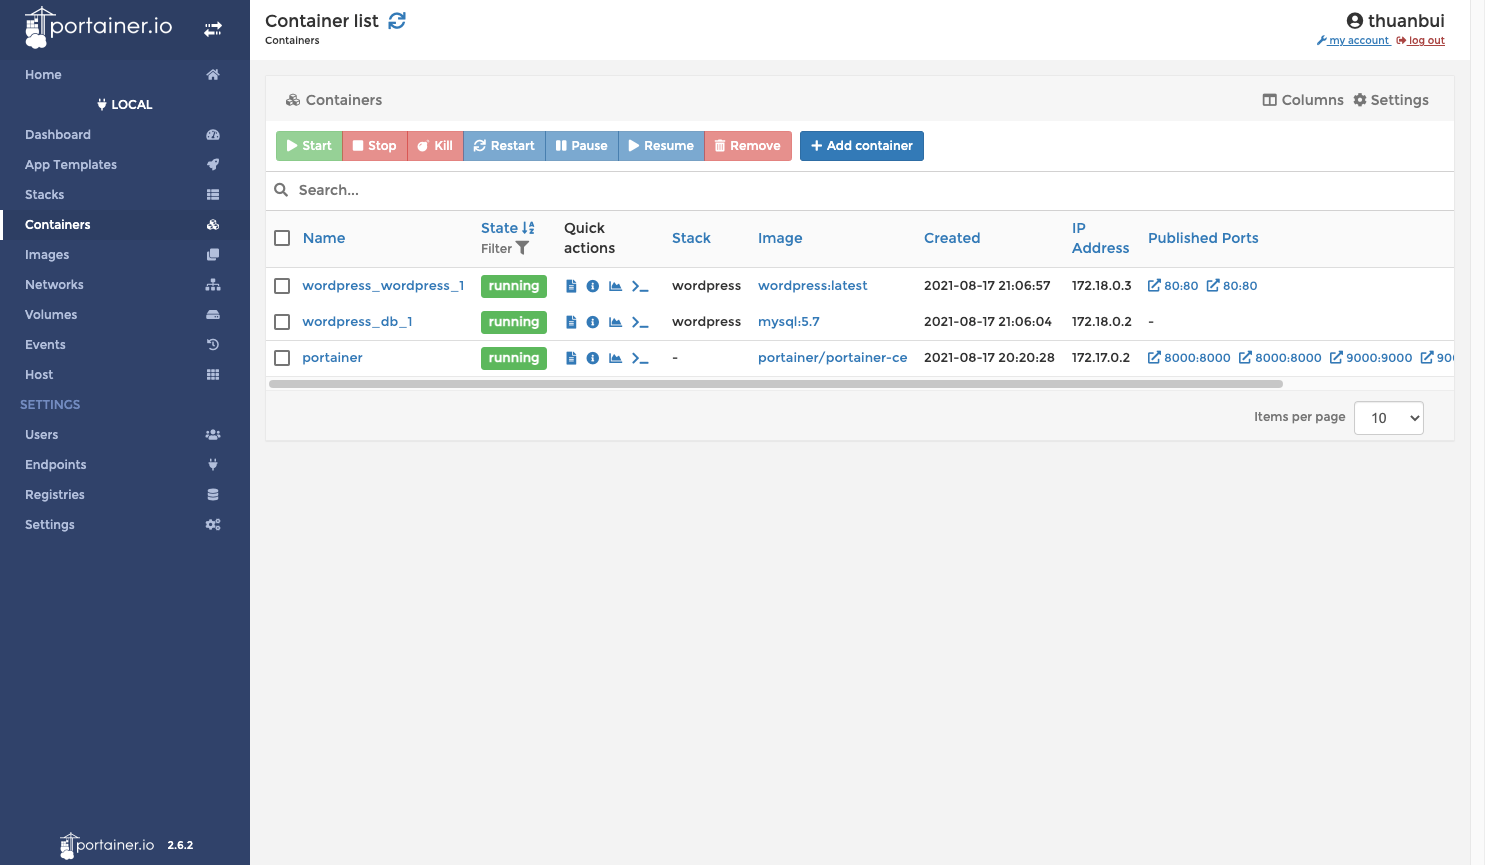
Navigating through the sections in Portainer, you will see information about Containers, Images, Volumes, Networks related to the newly created WordPress application.


Turn off and delete apps
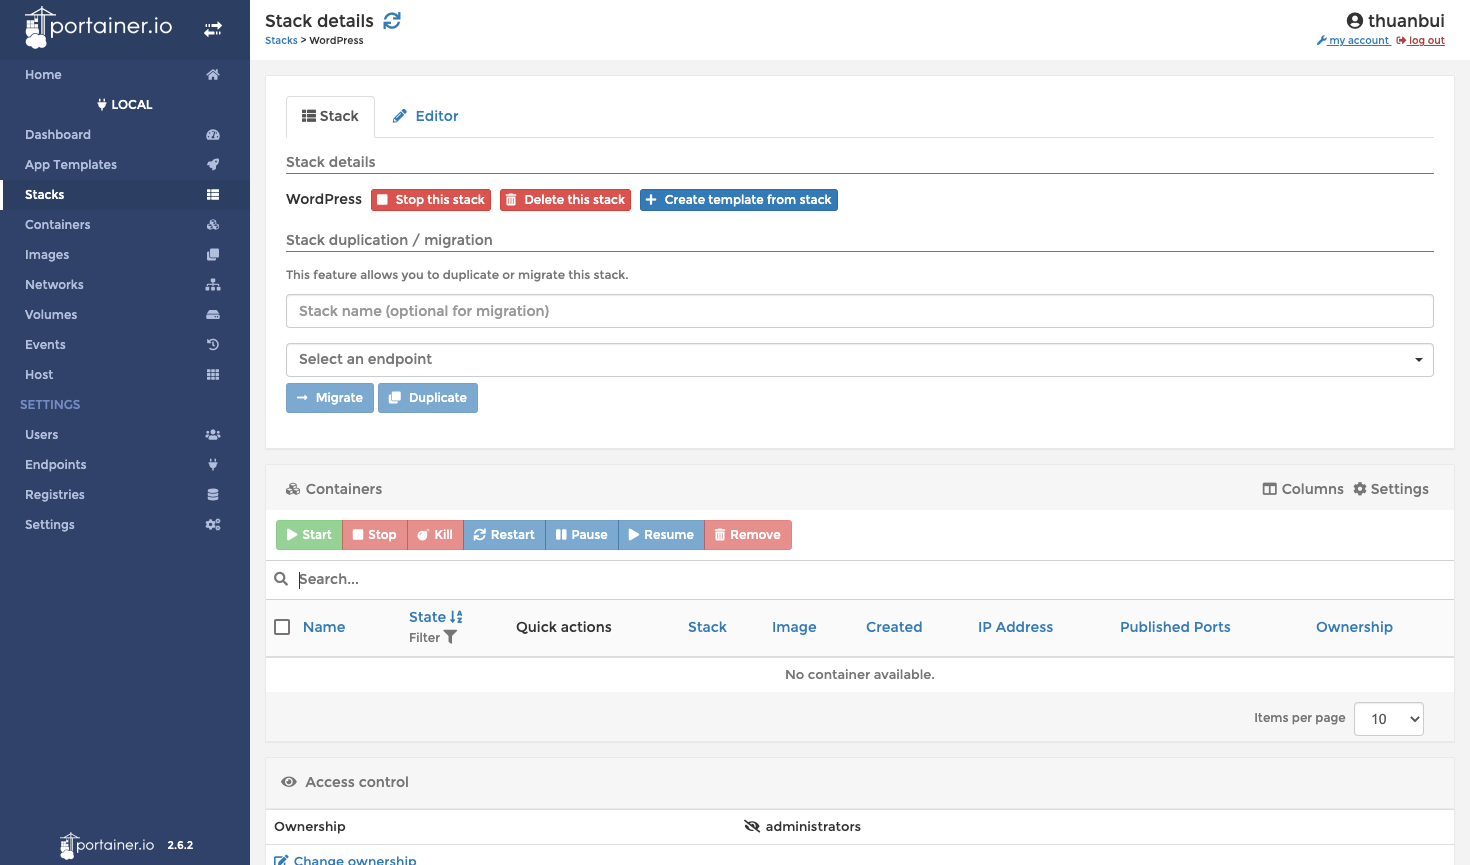
To suspend WordPress, we go back to the Stacks tab, access the WordPress stack to do it
If you no longer need to use it, you should delete both Images and Volumes related to the newly created application to save hard drive.

You apply the same operation in the Volumes section.
Epilogue
It is done! Portainer is so simple to use. From now on, you can comfortably test new applications through Docker without having to fiddle around with complicated command lines.
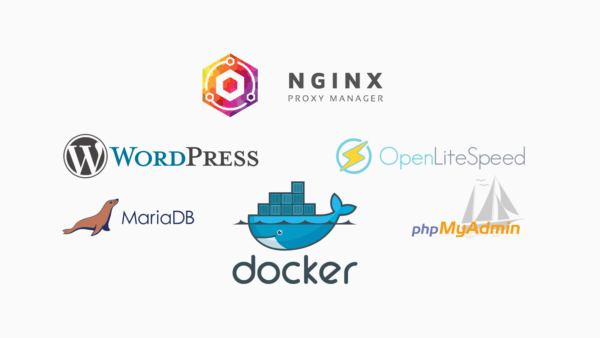
On my homelab, I’m currently using Portainer to manage the following applications, you can find out how to get acquainted with the settings on your device.
- Nginx Proxy Manager: make reverse proxy for other applications in the intranet
- Omada: used to manage TP-Link Omada access points
- Adguard Home: block ads with DNS for the entire indoor intranet
- wg-easy: Setup WireGuard VPN Server
If you have any questions or concerns, please post them in the comments section below.
If my article brings useful information and knowledge to you, don’t be afraid to invite me a glass of beer to have more motivation to share more. Thank you!
Related Posts